Travel Photo Editing Tools for Stunning Photos on the Go
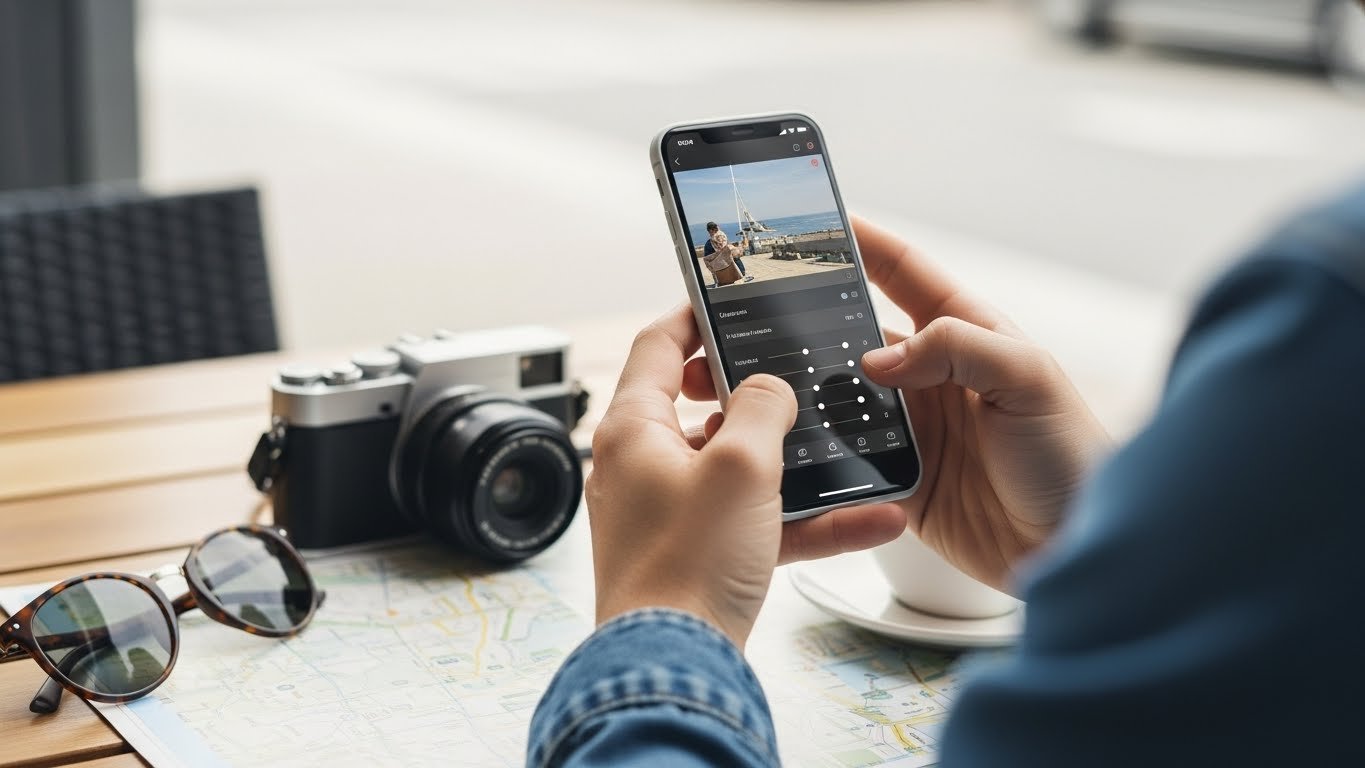
Capturing beautiful moments while traveling is easier than ever, but turning those raw shots into truly eye-catching images often requires the right travel photo editing tools. Whether you’re editing photos on a train, in a café, or back at your hotel, modern photo editing apps for travelers make editing on the go fast, simple, and surprisingly powerful.
In this guide, we’ll explore how travel photo editing works today, which tools matter most, and how you can consistently create stunning travel photos without carrying a laptop everywhere.
Why Travel Photo Editing Matters More Than Ever
Travel photography isn’t just about memories anymore. Photos are shared instantly on social media, blogs, and even professional portfolios. A slightly dull sky, poor lighting, or uneven colors can make an otherwise perfect moment feel flat.
Table of Contents
- Why Travel Photo Editing Matters More Than Ever
- What Makes a Good Travel Photo Editing Tool?
- Popular Types of Travel Photo Editing Tools
- How to Edit Travel Photos on the Go: A Practical Workflow
- Editing Travel Photos Without Losing Authenticity
- Free vs Paid Travel Photo Editing Tools
- Common Travel Photo Editing Mistakes to Avoid
- Future Trends in Travel Photo Editing
- Frequently Asked Questions
This is where travel photo editing tools come in. They allow you to:
- Correct lighting and colors caused by changing weather
- Enhance details without over-editing
- Maintain a consistent style across all your travel photos
- Edit and share images instantly, wherever you are
The goal isn’t to fake reality, but to bring your photos closer to how the moment actually felt.
What Makes a Good Travel Photo Editing Tool?
Not every photo editor is suitable for travelers. The best travel photo editing tools are designed with mobility, speed, and simplicity in mind.
Lightweight and Mobile-Friendly
A reliable travel photo app should run smoothly on your smartphone or tablet. Heavy software that drains battery or requires constant internet access can quickly become frustrating while traveling.
Quick Editing Workflow
When you’re on the move, you don’t want to spend 30 minutes editing one photo. Tools that offer presets, one-tap adjustments, and intuitive sliders make photo editing on the go efficient.
Offline Editing Support
Wi-Fi isn’t always available while traveling. Many modern travel photo editing tools allow you to edit photos offline and sync them later, which is essential for long trips or remote destinations.
Professional-Level Controls
Even on mobile, you should be able to control exposure, contrast, highlights, shadows, color temperature, and sharpness. The best tools balance simplicity with depth.
Popular Types of Travel Photo Editing Tools
Rather than focusing on a single app, it’s more helpful to understand the types of tools travelers commonly rely on.
All-in-One mobile editing apps handle everything from basic adjustments to advanced color grading, ideal for travelers wanting a single solution.
These apps handle everything from basic adjustments to advanced color grading. They are ideal for travelers who want a single solution for editing, organizing, and exporting photos.
Typical features include:
- Auto-enhance and smart corrections
- Custom and built-in presets
- Selective editing tools
- Easy social media export
Preset-Based Editing Tools
Preset-focused travel photo editing tools are perfect for maintaining a consistent visual style. You can apply the same look to multiple photos with one tap, saving time and effort.
This approach is especially popular among travel bloggers and influencers who want a recognizable aesthetic.
Advanced Editing Apps for Serious Travelers
Some travelers want more control. Advanced mobile editors offer features similar to desktop software, including curves, color mixing, and RAW photo support. These tools are ideal if photography is a serious part of your travel experience.
How to Edit Travel Photos on the Go: A Practical Workflow
Having great travel photo editing tools is only half the equation. A simple, repeatable workflow makes editing faster and more enjoyable.
Step 1: Start with a Clean Image
Before making creative edits, fix the basics. Adjust exposure, straighten the horizon, and crop distracting elements. Small corrections often make the biggest difference.
Step 2: Fix Lighting and Color
Travel photos often suffer from harsh sunlight or mixed lighting. Adjust highlights, shadows, and white balance to create a natural, balanced look.
Step 3: Apply a Style or Preset
This is where your travel photos gain personality. Whether you prefer warm tones, vibrant colors, or a soft cinematic look, presets help maintain consistency.
Step 4: Fine-Tune Details
Sharpen important areas, reduce noise if necessary, and add subtle clarity. Avoid overdoing it—natural edits age better over time.
Step 5: Export for Your Purpose
Choose export settings based on where the photo will be shared. Social media, blogs, and prints all benefit from different resolutions and compression levels.
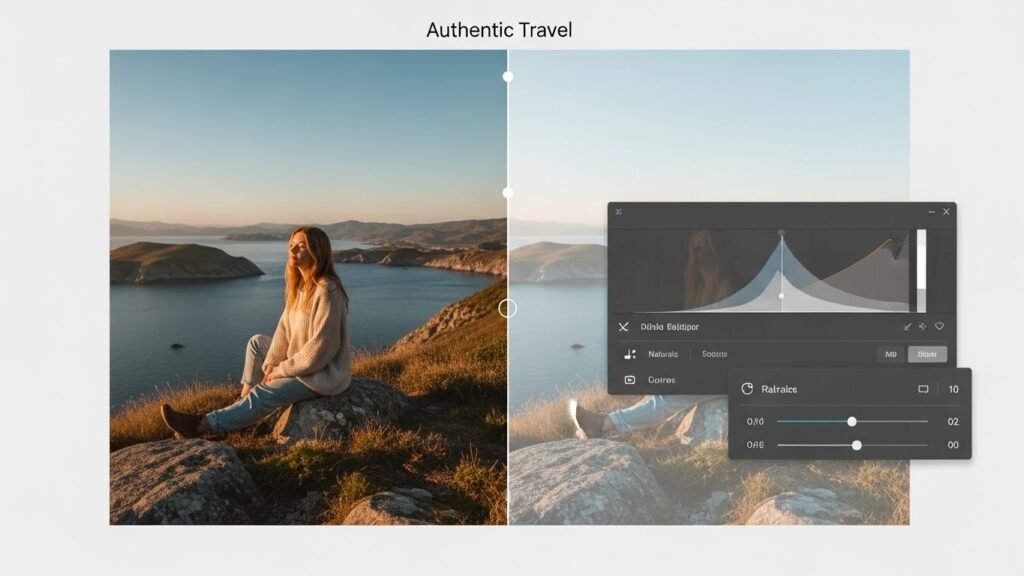
Editing Travel Photos Without Losing Authenticity
One common mistake with travel photo editing tools is over-editing. While it’s tempting to push colors and contrast, doing so can make photos look artificial.
To keep your edits authentic:
- Avoid extreme saturation and contrast
- Keep skin tones natural
- Use effects subtly
- Edit to enhance the mood, not replace it
The best travel photo editing feels invisible. Viewers should focus on the destination, not the edits.
Free vs Paid Travel Photo Editing Tools
Many travelers wonder whether free travel photo editing tools are enough.
The answer depends on your needs.
Free Tools
Free travel photo apps are great for casual editing. They usually cover basic adjustments, filters, and exports. For quick social media sharing, they often do the job well.
Paid Tools
Paid travel photo editing tools offer more advanced features, higher-quality exports, and better control. If you regularly edit photos or use them professionally, paid tools can save time and deliver better results.
Many paid apps also offer cloud syncing, preset management, and RAW editing support.
Common Travel Photo Editing Mistakes to Avoid
Even with the best tools, a few mistakes can reduce photo quality.
- Overusing filters without adjustments
- Ignoring lighting corrections
- Exporting at very low resolution
- Editing every photo differently with no consistent style
Being mindful of these issues will help your travel photos look polished and professional.
Future Trends in Travel Photo Editing
Travel photo editing tools continue to evolve rapidly, with professional-grade apps and AI features making mobile editing more powerful than ever.
AI-powered adjustments, smarter auto-enhance features, and real-time editing suggestions are becoming more common.
In the future, travelers can expect:
- Faster AI-based editing recommendations
- Better object removal and sky replacement
- Improved mobile performance with desktop-level features
- More personalization in presets and styles
These advancements will make photo editing on the go even more accessible and enjoyable.
Frequently Asked Questions
What are the best travel photo editing tools for beginners?
Beginners should look for travel photo editing tools that offer auto-enhance features, simple sliders, and built-in presets. These tools make it easy to improve photos without technical knowledge.
Can I do professional photo editing on the go?
Yes. Many modern travel photo apps offer advanced controls like curves, selective adjustments, and RAW editing, allowing professional-quality results directly from a mobile device.
Is photo editing on the go safe for image quality?
As long as you use high-quality export settings and avoid excessive compression, photo editing on the go can maintain excellent image quality suitable for blogs and social media.
Do travel photo editing tools work offline?
Many travel photo editing tools support offline editing. You can make adjustments without internet access and sync or share your photos once you’re back online.
How much editing is too much for travel photos?
If colors look unnatural or details appear overly sharp, the photo may be over-edited. Subtle adjustments that enhance the original scene usually deliver the best results.